Thermal Paste on GPU
Applying thermal paste on a GPU can significantly improve its performance and longevity. Thermal paste helps transfer heat from the GPU to the cooler, ensuring the component stays within safe operating temperatures. This guide will walk you through the correct steps to apply thermal paste on your GPU, ensuring optimal performance.
Why Thermal Paste is Important
Thermal paste is a vital component for any cooling solution. It fills microscopic gaps between the GPU and the heatsink, allowing for efficient heat transfer. Without it, your GPU could overheat, leading to throttling or even permanent damage.
When to Apply Thermal Paste on Your GPU
You should consider applying thermal paste on your GPU in the following scenarios:
- After cleaning your GPU.
- When replacing the GPU cooler.
- If you notice higher than usual temperatures.
- Every couple of years as part of regular maintenance.
Materials You’ll Need
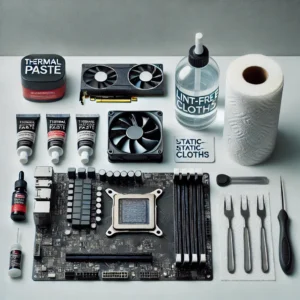
Before you begin, gather the following materials:
- High-quality thermal paste.
- Isopropyl alcohol (90% or higher).
- Lint-free cloth or coffee filters.
- A small flathead screwdriver.
- GPU cooler (if replacing).
- Anti-static wrist strap.
Step-by-Step Guide For Applying Thermal Paste On GPU
1: Preparation
- Turn Off and Unplug Your System: Ensure your computer is turned off and unplugged to avoid any electrical accidents.
- Discharge Static Electricity: Wear an anti-static wrist strap or frequently touch a metal part of your case to discharge static electricity.

2: Remove the GPU
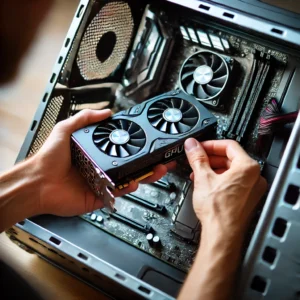
- Open Your Case: Carefully open your computer case to access the GPU.
- Remove the GPU: Unscrew the GPU from the case and gently release it from the PCIe slot.
3: Clean the GPU and Cooler
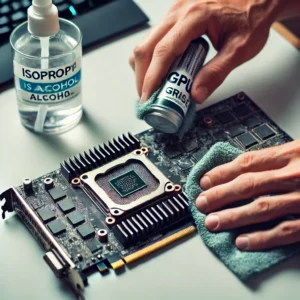
- Remove Old Thermal Paste: Use a lint-free cloth and isopropyl alcohol to clean the old thermal paste off the GPU and the cooler.
- Ensure Surfaces are Dry: Make sure both surfaces are completely dry before proceeding.
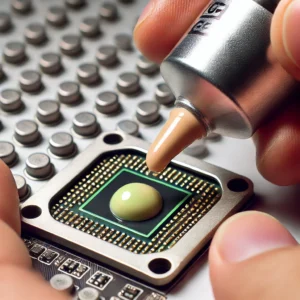
4: Apply New Thermal Paste
- Apply a Small Amount: Squeeze a small dot of thermal paste (about the size of a pea or a grain of rice) onto the center of the GPU chip.
- Spread Evenly: Some prefer spreading the paste using a flat tool, while others prefer letting the pressure of the cooler spread it. Both methods work if done correctly.
5: Reattach the Cooler
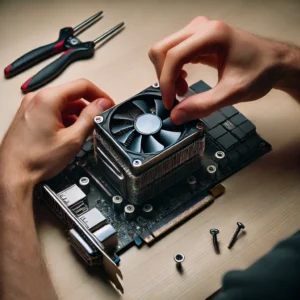
- Align the Cooler: Carefully place the cooler back onto the GPU, aligning it with the mounting holes.
- Secure the Cooler: Screw the cooler back in place, ensuring even pressure across the GPU.
6: Reinstall the GPU
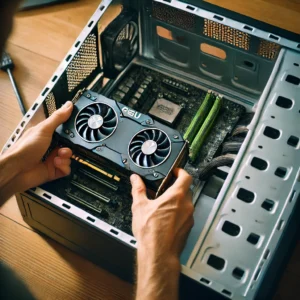
- Place the GPU Back into the PCIe Slot: Gently insert the GPU back into the PCIe slot until it clicks into place.
- Secure the GPU: Screw the GPU back into your case.
7: Test Your GPU
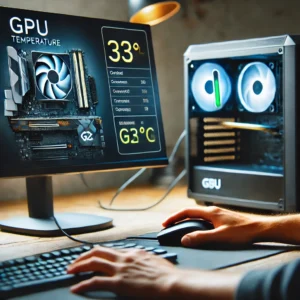
- Power On Your System: Turn on your computer and check the GPU temperatures using monitoring software.
- Verify Performance: Ensure that the temperatures are within the normal range and that the GPU is functioning correctly.
Tips for Best Results
- Use High-Quality Thermal Paste: Investing in a high-quality thermal paste can make a significant difference in cooling performance.
- Avoid Air Bubbles: Make sure to apply the paste in a way that minimizes air bubbles, which can impede heat transfer.
- Regular Maintenance: Consider repasting your GPU every couple of years to maintain optimal performance. For more details on this, you can read How To Effectively Repaste GPU.
Common Mistakes to Avoid
- Using Too Much or Too Little Paste: Both can negatively impact cooling efficiency.
- Not Cleaning the Old Paste Properly: Residual old paste can interfere with the new paste’s performance.
- Reapplying Without Proper Tools: Ensure you have all the necessary tools before starting the process.
How much thermal paste will I require?
Well, that depends a lot on the size of your processor. More paste would be required to create a thin, even coating in a larger processor. But the sweet spot for a processor measuring 15 mm by 10 mm is 0.1 cc of thermal paste. Any more would result in an excessively thick coating. If you’re unsure of the size of your GPU, look at the box it arrived in or the product details on the manufacturer’s website.
Recall that the goal is to prevent the formation of a layer that is either too thin or too thick to completely cover the surface. If you’re worried about applying too much paste, keep in mind that you can always use the buttered toast method to determine the proper quantity. In essence, it’s your safest option if you lack confidence in your abilities.
Conclusion
Applying thermal paste on a GPU is a straightforward process, but it requires attention to detail and the right tools. By following this guide, you can ensure that your GPU stays cool and performs at its best. Regular maintenance and proper application can extend the lifespan of your GPU and enhance your computing experience.
If you find any difficulty in applying the thermal paste on gpu then check out this video link.
FAQs
Does a GPU need thermal paste?
Yes, thermal paste is crucial for a GPU as it ensures efficient heat transfer between the GPU die and the cooler, preventing overheating and potential hardware damage.
How long does GPU thermal paste last?
Typically, GPU thermal paste lasts between 3 to 5 years. If you notice rising GPU temperatures, it might be time to reapply the thermal paste.
Does thermal paste affect GPU performance?
Absolutely, properly applied thermal paste ensures optimal heat transfer, preventing overheating and maintaining GPU performance. Poor application can lead to higher temperatures and reduced performance.
Is GPU thermal paste better than a thermal pad?
Generally, thermal paste is preferred for GPUs due to its superior thermal conductivity and ability to fill microscopic gaps effectively, offering better cooling performance than thermal pads.
